


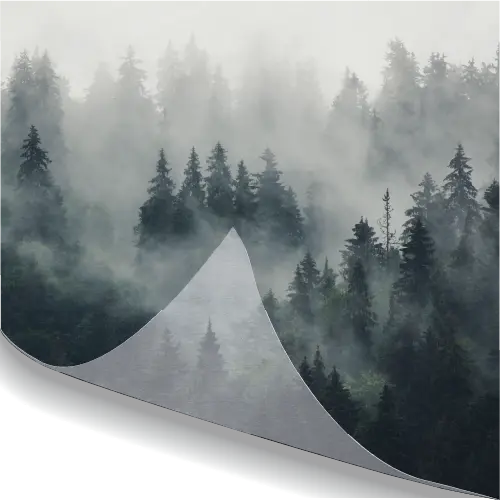


Polycril canvas also known as Rafa canvas is a one piece wall covering canvas that enables an entire wall to be covered in a single drop piece graphic. Polycril wall-covering canvas is printed on a roll up to 3.2m wide and up to any length. The graphic is installed using a strong pasting, like a traditional wall paper but without the need for joins or overlaps. Rafa canvas and our Polycril canvas are 100% Blockout meaning they can be installed over existing coloured/graphic surfaces without any show-through. The canvas material is slightly textured with a soft-feeling matt canvas finish which is non-reflective and gives a very high quality feel. This makes it the perfect graphic solution for walls in offices, restaurants, retail and homes. Other benefits of the Polycril canvas are that it is B1 fire rated and its made from PVC FREE materials, this means that is it also 100% recyclable and environmentally friendly.
Custom Printed Pasteable Wallpaper – Digimura 1.1 (Standard)
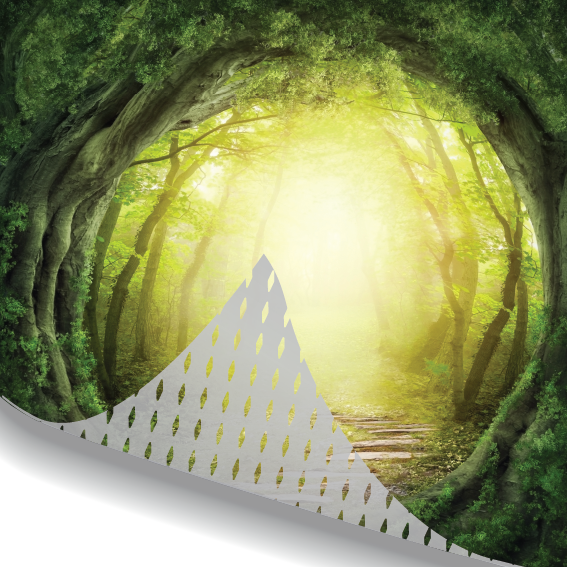
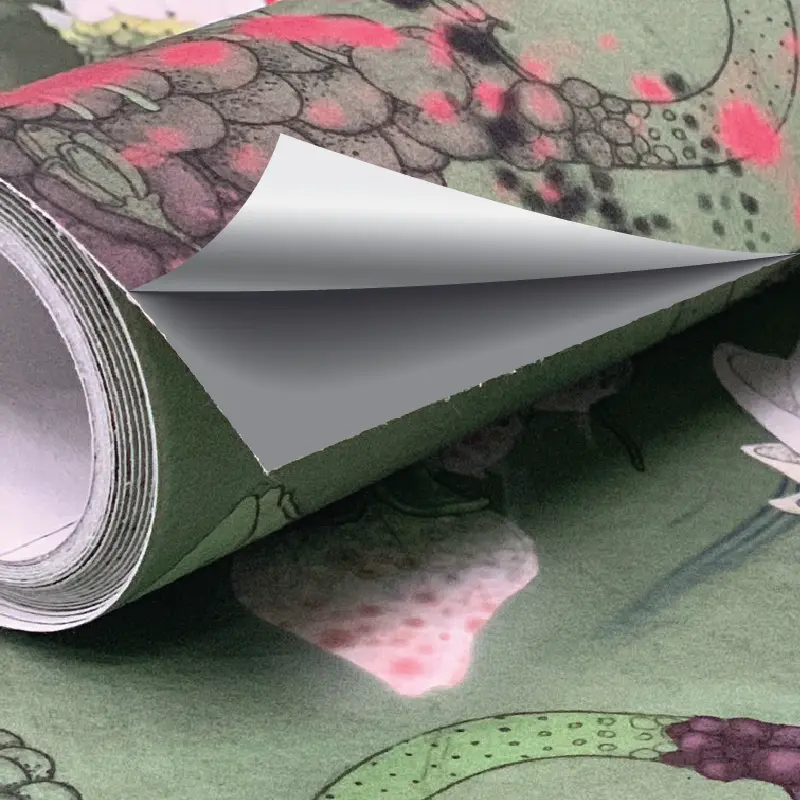
Digimura 1.1 is a high-performance digitally printable wallpaper designed for medium-traffic commercial spaces and public areas. Ideal for custom printed wallcoverings, it offers superior print quality, durability, and easy installation.
With a non-woven fabric backing, Digimura 1.1 ensures stability, no shrinkage or stretching, and effortless repositioning during application. It meets Euroclass EN13501 fire safety standards, is washable, scratch-resistant, and supports eco-solvent, solvent, UV-curable, and latex printing.
Available in five unique finishes, Digimura 1.1 enhances custom wall murals, feature walls, and interior branding, making it the go-to choice for bespoke printed wallpaper in commercial décor projects across the UK and Europe.
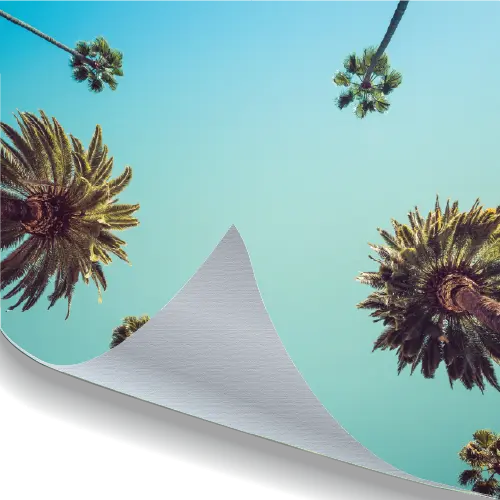
Premium Custom Printed Wallpaper – Digimura 2.1 (Premium)
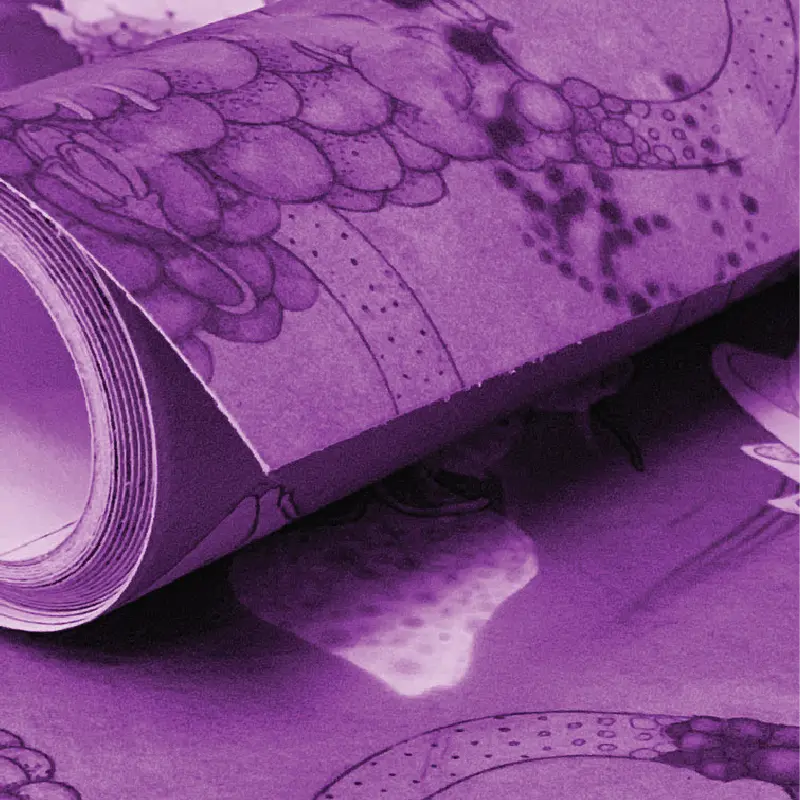
Digimura 2.1 is the ultimate digitally printable wallcovering for high-traffic commercial spaces. Ideal for retail, hospitality, healthcare, and offices, this heavyweight 350gsm fabric-backed wallpaper offers exceptional durability, print quality, and antibacterial protection.
With an extra ink-receptive coating, Digimura 2.1 delivers superior print performance on eco-solvent, solvent, UV-curable, and latex printers. It meets Euroclass EN 13501 fire safety standards, is CE-certified, and has an A+ VOC rating for low emissions.
Available in five premium finishes, it’s the perfect choice for bespoke printed wallpaper in luxury interiors, healthcare settings, and high-humidity environments like spas.
How to Install Your Custom Printed Wallpaper
Transforming your space with our custom wallcoverings is easy when you follow these simple steps and use our recommended Murabond tools and accessories. Designed for professional-quality results, these products ensure your wallpaper looks stunning and lasts beautifully.
1. Prepare the Wall
Start by making sure the wall surface is clean, dry, smooth and free from dust, grease, or loose paint. Fill and sand any imperfections, and wipe down to remove any residue.
For unstable or absorbent surfaces, such as new plaster or porous walls, use Murabond Primer to create the perfect base.
-
Apply evenly with a roller or brush.
-
Allow to dry fully before wallpaper installation.
-
One 2.5kg tub typically covers 80–120m², depending on dilution and surface type.
2. Apply the Adhesive
Use Murabond Heavy Adhesive, specially formulated for hanging Digimura and other fabric-backed wallcoverings.
-
Stir before use — it’s ready-mixed and easy to apply straight from the tub.
-
Apply an even coat directly to the wall using a roller or brush.
-
One 10kg tub covers up to 50m².
3. Hanging the Wallcovering
Position the first drop of wallpaper carefully against your marked plumb line.
-
Smooth the wallpaper from the centre outwards using a Wallcovering Application Spatula.
-
The Protected Edge Spatula is ideal for gentle smoothing without damaging the print.
-
The Hard Edge Spatula offers firmer control for thicker or textured wallcoverings.
-
-
Work methodically to remove any air bubbles and ensure full contact with the adhesive.
4. Trimming and Joining
For perfect seams and overlaps, use the Joint Cutter to trim clean, precise joins.
-
This tool makes it easy to achieve a seamless finish between panels and includes ten spare blades for ongoing use.
-
Use Wallcovering Scissors for detailed cuts around sockets, edges, or architectural features.
5. Finishing Touches
Use the Recyclable Plastic Strip during trimming or joint cutting to protect the wall surface from knife marks or scuffs.
Wipe away any excess paste with a damp sponge, taking care not to over-wet the surface.
Allow the wallcovering to dry naturally, avoiding direct heat or strong drafts.
Professional Tips
-
Always check batch numbers before hanging to ensure colour consistency.
-
Avoid stretching or pulling the material during installation.
-
For the best results, maintain a room temperature of 15–25°C during application and drying.
