


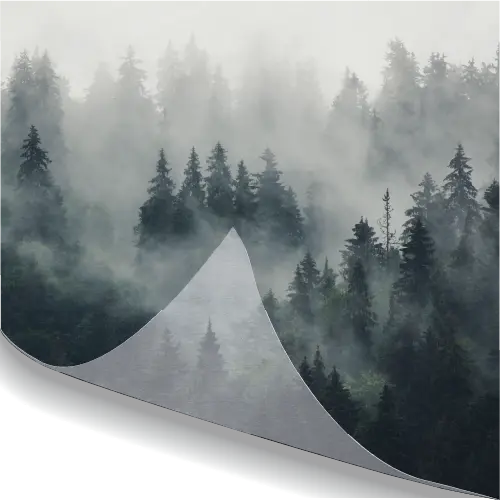

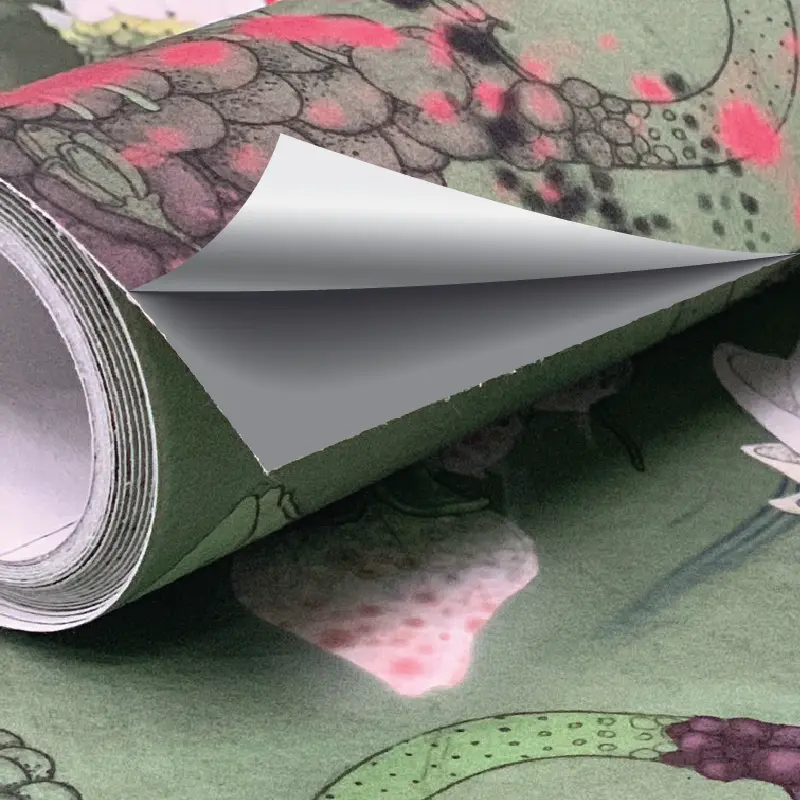


Unlock incredible creative freedom by transforming spaces with personalised wallpaper designs. Whether you’re working on a residential project, commercial space, or exhibition display, properly preparing your artwork is essential to achieving professional results. This guide walks you through everything you need to know about setting up your artwork for custom wallpaper printing.

Understanding wallpaper basics
Before diving into the technical specifications, it’s important to
understand how custom wallpaper is typically produced and installed.
Custom wallpaper is usually printed in continuous vertical strips (or “drops”) of standard
widths, which are installed side by side to create a complete wall covering. For seamless designs,
these strips must align perfectly at the edges, requiring precise preparation of your artwork.

File specifications
Size and resolution
For custom wallpaper, both dimensions and resolution are critical:
File format: High-resolution PDF is our preferred format (without crop marks)
Resolution: Minimum 150 ppi (pixels per inch) at actual size
Maximum file size: Ideally keep files under 2GB for efficient processing
Colour mode: CMYK (not RGB)
Bleed: 3mm bleed on all sides
Scale and dimensions
When setting up your wallpaper artwork, consider the actual wall dimensions:
- Measure the width and height of your wall in millimetres
- Add 25mm to all sides (50mm to both width and height) to allow for trimming during installation
- Create your artwork to these dimensions, including the 3mm bleed
For example, if your wall measures 3600mm wide by 2400mm high, your artwork should be set up as 3650mm × 2450mm (wall dimensions + 25mm trim allowance on each side).
Then you should still add 3mm bleed beyond these dimensions on all sides, resulting in a final file size of 3656mm × 2456mm.

Panel layout considerations
Wallpaper is typically printed in panels of standard widths (usually 500mm to 1300mm wide, depending on the specific material). Your design will be divided into these panels for printing
and installation.
Panel width options
We offer two options for determining how your wallpaper is split into panels:
- Equal panels left to right – We’ll divide your wall width into panels of equal size for a balanced, symmetrical installation
- Custom width splits – You can specify custom panel widths based on your uploaded sketch or notes, which is particularly useful for working around architectural features or creating special design effects
Planning your design for panels
It’s crucial to consider how your design will be divided into panels:
- For continuous patterns or images, ensure key elements aren’t positioned right at panel edges
- For designs with important focal points, consider panel placement to avoid awkward splits
- Remember that each panel will need to align perfectly with adjacent panels
Pattern repeat
If your design includes a repeating pattern:
- Create a seamless repeat that works both horizontally and vertically
- Ensure the repeat size is precisely defined and communicated
- Test your repeat by duplicating it multiple times to check for any visible seams

Design tips for successful wallpaper
Colour considerations
• Use the CMYK colour model (not RGB)
• For exact colour matching, consider ordering a sample print first
• Remember that different wallpaper materials can affect how colours appear
• Avoid very dark backgrounds for large areas if texture detail is important
Image quality
• Use high-quality images with appropriate licensing
• Ensure all images are at least 150 ppi at the final print size
• Check images at 100% size for any quality issues
• Avoid excessive image enlargement that might cause pixelation
Text and fine details
• Convert all text to outlines/paths
• Ensure any small text is at least 12pt for readability
• Keep fine lines at minimum 0.5pt thickness
• Place important text away from panel joins


Preparing artwork in Adobe software
Using Adobe Photoshop
- Set up your document:
• Create a new document in millimetres at actual wallpaper size
• Set resolution to 150 ppi minimum
• Use CMYK colour mode
• Add 3mm bleed through increased canvas size - Working with large files:
• Consider working in sections if file size becomes unmanageable
• Use Smart Objects to maintain quality when scaling elements
• Keep a backup of your full-resolution file - Exporting from Photoshop:
• Save as PDF without crop marks
• Ensure “Preserve Photoshop Editing Capabilities” is unchecked to reduce file size
• Include bleed area in the final export
Using Adobe Illustrator
- Set up your document:
• Create a new document in millimetres at actual wallpaper size
• Set up 3mm bleed in the document settings
• Use CMYK colour mode - Working with vectors and images:
• Create vector elements for maximum scalability
• Place high-resolution images at 100% size
• Convert all text to outlines before submission - Exporting from Illustrator:
• Export as PDF without crop marks
• Check “Use Document Bleed Settings” in the Marks and Bleed section
• Ensure all fonts are outlined and images are embedded

Special considerations for different wallpaper types
Textured wallpaper
When designing for textured wallpaper materials:
• Use stronger contrast as some detail may be lost in the texture
• Avoid very fine details that might not reproduce well
• Consider how the texture will interact with different parts of your design
Metallic or specialty wallpapers
When designing for metallic or specialty finishes:
• Remember that metallic elements will appear different in various lighting conditions
• Use these special finishes strategically for maximum impact
• Consider ordering a sample to test the effect
Testing and proofing your design
Before committing to a full wallpaper print:
- Request a small sample of your design on the actual wallpaper material
- Check the sample in the installation space to verify colours and details
- If possible, test a full-height panel to evaluate the overall effect

Final checklist before submission
Before submitting your wallpaper artwork, verify:
- File is set up at actual print size in millimetres
- Resolution is minimum 150 ppi at final size
- 3mm bleed is included on all sides
- All text is converted to outlines
- Colour mode is CMYK
- Width is mentioned before height in all dimensions
- File is saved as high-resolution PDF without crop marks
- Panels and repeats (if applicable) are correctly set up
Common mistakes to avoid
- Inadequate resolution: Using images that are too low-resolution for large-format printing
- Incorrect bleed: Failing to add the required 3mm bleed
- RGB colour mode: Not converting to CMYK before submission
- Edge placement: Positioning critical elements right at panel joins
- Unoutlined text: Forgetting to convert text to outlines/paths
By following these guidelines, you’ll ensure your custom wallpaper artwork is properly prepared for printing, leading to a successful installation and stunning results for your space.